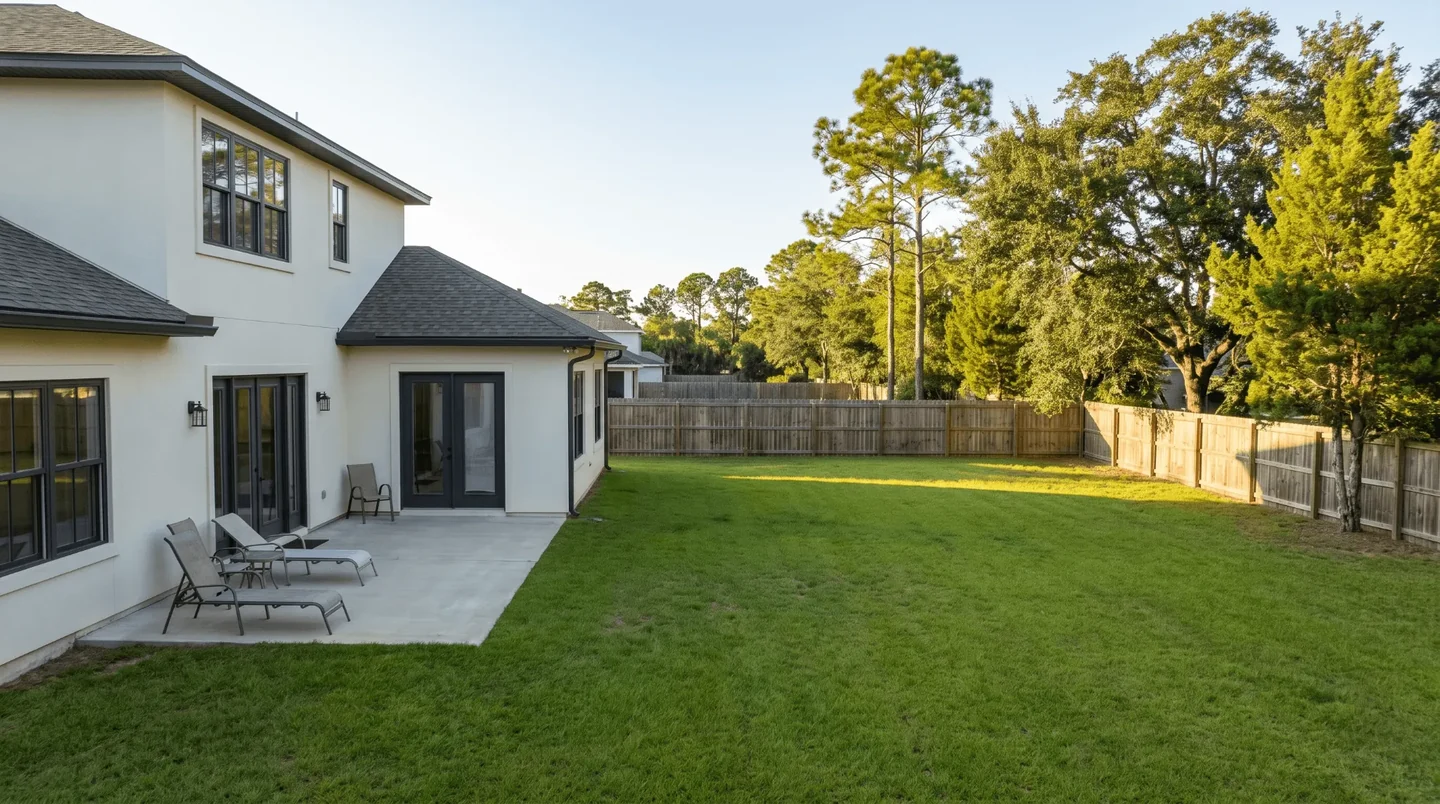
The most useful yard photos answer a question. Where does this door lead? What sits beside the proposed patio? Which part of the side yard narrows? A large folder of close-ups can leave those relationships unclear.
Prepare a simple record that another person can follow without standing beside you. Your goal is to explain the existing setting and identify uncertainties. It is not to produce a survey or certify that a proposed feature will fit.
Begin with an orientation sketch
Draw the house as a basic outline, mark the doors you use and add the visible features you want to discuss. Include the existing patio, fences, trees, equipment and outbuildings. Name each area consistently, such as kitchen side, rear lawn and garage side.
UGA Extension recommends beginning site assessment with a rough measured sketch and existing features. A readable drawing is more valuable here than an attractive one.
Label uncertain information as uncertain. A fence is an observed feature; its position alone does not establish a property boundary. If you have a survey or other property record, provide the original separately and note its date.
The four-view photo exercise
For a practical starting package, take four broad views from safe, accessible locations. The aim is to help a designer understand the whole property before discussing its details.
- View 01 — From the main rear door: Show the route from the house toward the part of the yard you use most.
- View 02 — Back toward the house: Show the doors, steps, windows and existing patio connections that shape outdoor activity.
- View 03 — Along the side-yard access: Capture gates, fences, visible obstructions and the route you normally take with tools or equipment.
- View 04 — From the opposite corner: Capture the broad relationship among existing trees, lawn, patios, structures and the house.
Do not enter another person's property, climb a roof, open electrical equipment or enter water to get any view. If a location cannot be photographed safely, simply note that it is unavailable.
Make each image useful with one note
Use a consistent file name such as YARD-01-main-door or YARD-03-side-access. Add a short observation beside each: “We often carry groceries through this gate” or “We want to preserve the view to this tree.” Pair a close-up of a step or surface with its wider reference photo, so the designer can locate it.
Keep original image files for context. Marked-up copies can be useful, but annotations should not obscure the condition or pretend an estimated property edge is a surveyed boundary.
Take an overview before a detail
Start from a familiar point, such as the main door into the backyard. Photograph the broad view. Then work around the area in a consistent direction, taking views that overlap enough to explain where one ends and the next begins.
Include a view back toward the house. Windows, doors and the relationship between indoor rooms and outdoor areas often become clearer from that direction.
After the broad views, photograph the details that need discussion: an existing step, a narrow passage, a downspout outlet or an equipment area. Pair each close-up with a wider image showing its location. Stay in places you can reach safely; a design record does not require climbing or entering restricted areas.
Record what each measurement actually means
Measure only what you can comfortably and safely reach. Write the endpoints and units beside every number. “Patio width” is ambiguous if the patio changes shape. “Existing paving, house wall to outside edge at kitchen door” is easier to understand.
Use separate entries for a clear opening and the surrounding structure. For a gate, note what you measured rather than assuming the nominal gate size equals usable access. Photograph the same point with its label.
If a dimension was estimated, say so. If you used a phone measurement tool, identify that method. Avoid adding precise-looking decimal places to an approximate observation. Leave difficult levels, boundaries and concealed conditions to the appropriate professional.
A homeowner measurement note that won't be mistaken for a survey
For a few features you can reach safely, write down the measurement, its endpoints, the unit, the method, and whether it is approximate. For example: “About 12 feet from the exterior face of the kitchen wall to the patio edge, measured with a handheld tape.”
Do not infer a legal property line from a fence or rely on a casual phone measurement to certify clearances, elevations or construction dimensions. A professional survey and other technical work may be needed depending on the project and locality. LANDOVA's technical site capture begins only after the homeowner approves the appropriate paid Site + Scope engagement.
The University of Georgia Extension site-assessment guide also recommends a simple plan showing dimensions and existing features as a starting inventory. The goal here is to help your first design conversation—not to take the place of that later technical work.
Build a small photo index
Give your sketch camera labels and match them to filenames. An example set could be:
- A01: view from kitchen door toward rear yard.
- A02: reverse view toward the house.
- B01: garage-side passage, wide view.
- B02: narrow point in that passage.
- C01: existing patio and step, wide view.
Add one sentence beside each file explaining the issue. “We carry groceries through this gate” tells the designer something a picture alone cannot. Keep the original image as well as any annotated copy so your markings do not hide the underlying condition.
Include the yard's behavior
A sunny photograph cannot explain where you avoid sitting on summer afternoons. Add dated notes about how you use the area, when you notice glare and where you have observed standing water after rain.
Describe observations without diagnosing them. “Water remained beside the patio when this photo was taken” is useful. “The soil cannot drain” makes a conclusion that the photo does not establish. Record the date, approximate time and weather context you actually know.
Keep personal details out of shared images where possible. Check for visible house documents, vehicle information or people who have not agreed to appear.
A fictional example of a useful record
A homeowner sends three labeled overviews, one sketch and a note: “We want dining near the kitchen door. The garden cart uses the garage-side passage. We measured the existing paving, but the boundary and levels are unverified.”
That record allows a focused first discussion. It connects goals, visible conditions and missing information without pretending the site review is complete.
Before sending your folder, ask someone unfamiliar with the yard to match each photo to the sketch. If they can follow it, you have created a strong starting point for the next conversation.
Bring your small photo package and a few questions to the free Outdoor Project Planning tools or request an initial consultation. You'll have a useful starting point without spending weeks trying to create technical plans on your own.
Related homeowner guides
- What rain observations can tell you — Record site behavior without diagnosing drainage.
- From property capture to 3D design — Understand what later measured and visual documents do.
- Is your backyard ready for design? — Prepare goals and questions for the initial conversation.